Kitchen Painting in Vancouver
Posted on August 3, 2026 by The Vancouver Painters Team
Quick answer: A kitchen can usually be repainted when walls, ceilings, trim, doors, and adjoining returns are sound and dry. Resolve soft drywall, recurring stains, failed caulk, grease film, and cooking residue before coating. Mask or leave cabinets out of scope unless a separate refinish is planned, choose a washable system suited to steam and daily cleaning, protect floors and appliances, and allow enough drying and cure time before cooking returns to the room.
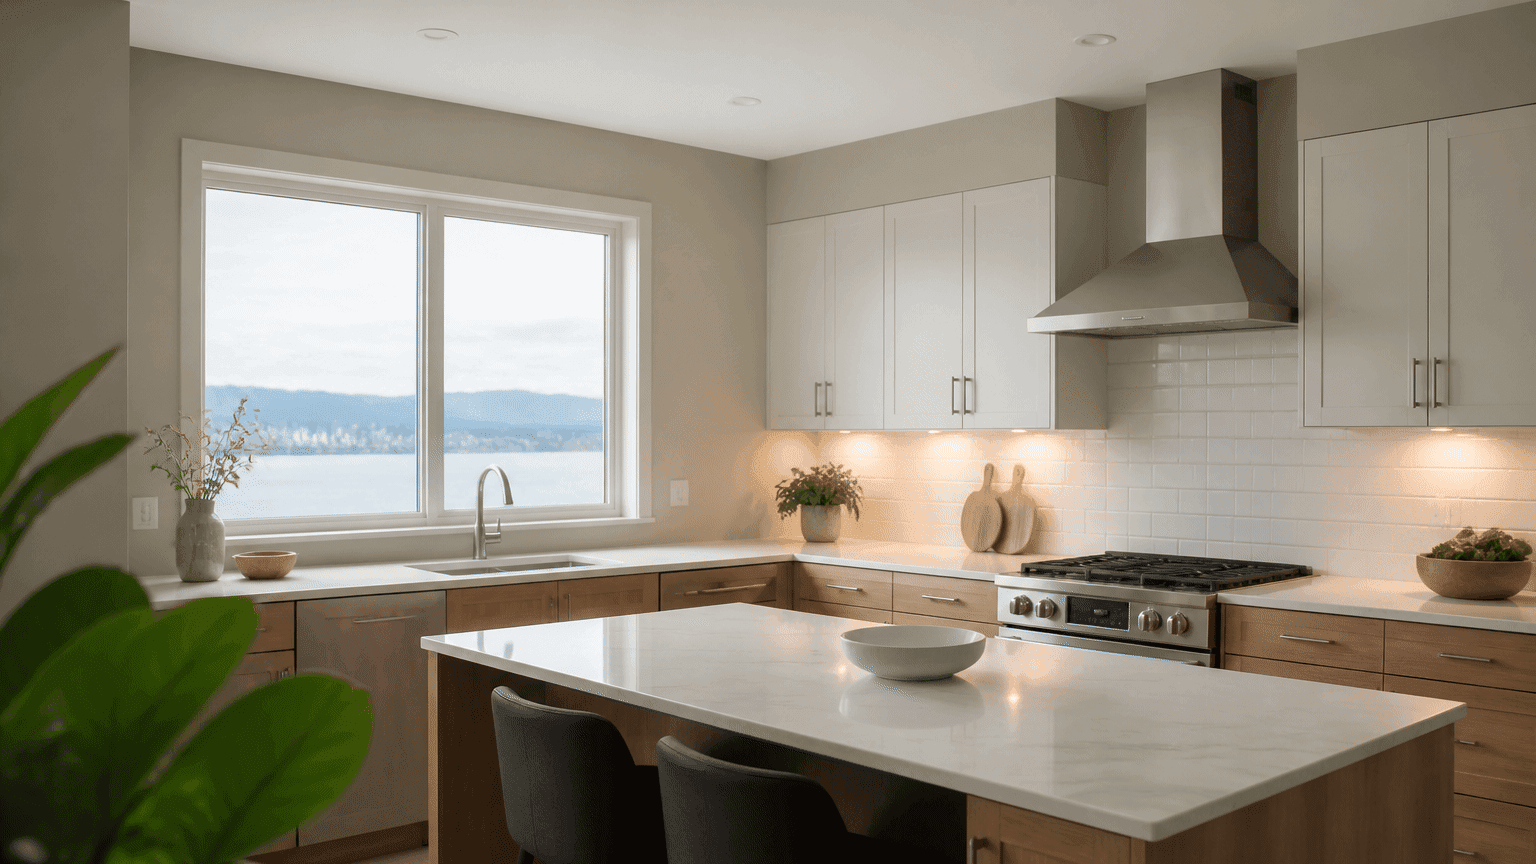
Kitchens in Vancouver homes collect cooking oils, steam, cleaner residue, and daily hand traffic faster than most rooms. They often open into dining rooms or living rooms, sit under cool coastal daylight plus warm under-cabinet lighting, and stay in use every day. A useful estimate should identify every included wall and ceiling surface, grease cleaning, cabinet and appliance protection, backsplash boundaries, product expectations, ventilation, and return-to-cook timing rather than simply say “paint the kitchen.”
This guide covers kitchen walls, ceilings, trim, and doors. Cabinet door and drawer refinishing is a separate system and schedule — see our kitchen cabinet painting guide when boxes and doors need a durable enamel refresh of their own.
Name each kitchen surface before pricing
Homeowners often assume “kitchen painting” means the four walls only, or that it automatically includes cabinets. A component list makes quotes easier to compare:
- Field walls: Main wall fields above and beside cabinets, outside corners, and previously patched splash or scuff zones
- Ceilings: Flat or textured surfaces around recessed lights, vents, detectors, and any bulkhead or soffit
- Above-cabinet and open-shelf zones: High walls and returns that collect grease film and dust
- Backsplash boundaries: Painted walls that stop at tile, stone, metal, or panelled splash zones — not the splash itself unless separately scoped
- Accent or feature walls: One contrasting wall or peninsula return if included as a separate colour
- Trim: Baseboards, door casings, window casings, and any painted chair rail or picture moulding
- Doors: Kitchen entry doors, pantry doors, closet doors, and frames if included
- Open-concept returns: Visible returns into a dining room, living room, hallway, or stair opening
Specify whether the scope includes ceilings, above-cabinet walls, pantry interiors, door slabs, accent colours, and every painted return into adjoining rooms. Confirm that cabinet painting is excluded unless quoted as its own line. A full interior painting project may include some of these surfaces, but kitchen details should still be listed separately.
Inspect for grease, moisture, and coating failure before preparation
Paint should not conceal unresolved substrate or coating failure. Check the kitchen with blinds open under both under-cabinet light and Vancouver’s cool daylight before cleaning or sanding removes clues.
Look for:
- Soft, swollen, or crumbling drywall near sinks, dishwashers, exterior walls, or shared plumbing walls
- Peeling, bubbling, or blistering paint above ranges, behind refrigerators, and on greasy bulkheads
- Yellowed or sticky film on walls and ceilings that cleaning alone may not fully remove
- Brown or yellow stains that may point to roof, plumbing, or condensation issues
- Nail pops, hairline cracks, and corner joint movement after seasonal humidity swings
- Failed caulk or open joints at door casings, baseboards, window trim, and cabinet-to-wall junctions
- Splash-zone damage where painted drywall meets tile, stone, or metal backsplash edges
- An older or unknown coating that may need hazardous-material assessment before disturbance
A painter can document visible coating and surface conditions but should not certify roofing, plumbing, electrical, or building moisture control. Soft drywall, active leaks, and persistent staining need assessment and repair by the appropriate qualified trades before coating.
Review cooking use, grease load, and adjoining spaces before choosing a system
Kitchens fail coatings and schedules for reasons that differ from bedrooms or offices. Daily steam, grease film, appliance clearances, open-concept sightlines, and limited staging space matter as much as colour preference.
Clarify before production:
- Whether the household can cook elsewhere during coating and early cure, or needs phased access around the range and sink
- Whether open-concept dining room or living room returns should match colour and sheen in the same phase
- Whether cabinets stay masked and untouched, or a separate cabinet refinish is planned later
- Whether above-range and above-cabinet zones need a harder-wearing or higher-hide system than quieter wall fields
If coatings fail at the same splash bands, bulkheads, or latch-height door returns, plan better degreasing, washable systems, and traffic controls before relying on a new topcoat alone. Product selection for humid or steam-prone rooms is covered in our moisture-resistant interior paint guide. A dedicated bathroom or laundry guide remains the companion for those rooms; kitchen work needs its own grease prep, appliance protection, and return-to-cook timing.
Decide what belongs in the painting scope
Kitchen work often sits next to dining-room, living-room, hallway, trim, or cabinet tasks. Clarify boundaries early:
- Refresh sound painted surfaces: Clean, dull, prime where needed, and recoat finished walls, ceilings, and trim.
- Repair and then paint: Patch nail pops, splash damage, hairline cracks, and limited drywall damage after any leak source is resolved.
- Exclude cabinet doors and drawers: Mask boxes and faces carefully unless a cabinet enamel project is separately quoted.
- Respect backsplash and appliance edges: Paint stops at tile, stone, metal splash, range hood, and fixed appliance returns unless those items are in scope.
- Coordinate adjoining returns: Plan dining-room, living-room, or hallway returns as one visual scheme rather than leaving mismatched leftover paint.
If walls need more than minor patching, review our guide to drywall repair before painting in Vancouver. Soft or repeatedly damaged board is a repair or replacement issue, not a thicker paint problem.
Preparation determines whether the finish will last
Kitchens collect airborne grease on ceilings and high walls, cleaner residue around sinks, and hand oils on switches and door returns. Painting over that contamination can cause poor adhesion or a streaky finish when cool Vancouver light hits freshly coated walls.
A condition-specific preparation sequence may include:
- Clear counters, décor, and portable appliances away from coating and cure zones
- Empty or protect open shelves and move freestanding furniture so walls stay accessible
- Confirm surfaces are dry enough for the specified system after any recent leak or washing
- Degrease and clean walls, ceilings, trim, and doors with a method suited to cooking film and cleaner residue
- Scrape or sand loose coating and feather sound edges
- Dull glossy retained finishes without damaging adjacent cabinets, backsplash, or flooring
- Fill appropriate nail holes, gouges, and open finish joints
- Spot-prime stains, repairs, and adhesion-risk areas
- Caulk appropriate trim and finish joints after the substrate is ready
- Final dust removal before primer or finish coats
Do not assume a fully furnished, grease-filmed kitchen can be painted with only a quick wipe. Surfaces and the air path need to be dry according to the product requirements and site conditions.
Protect flooring, cabinets, and appliances carefully
Kitchen painting is as much about occupied-home logistics as it is about the walls. Protection and temporary cooking plans should be written before production starts.
Plan for:
- Floor coverings suited to hardwood, tile, laminate, or vinyl
- Cabinet faces, hardware, and open shelves masked so overspray and roller spray do not land on them
- Range, refrigerator, dishwasher, and range-hood edges protected without trapping heat unsafely
- Sink, faucet, and countertop protection during wall and ceiling work
- Window treatments, thermostats, detectors, and lighting kept clear and protected
- Light switches, outlets, and under-cabinet fixtures masked carefully
- Temporary meal plan so the household is not forced to cook against wet finishes
- Pet and kid traffic controls during coating and early cure
Whether pantry doors, bulkheads, and accent walls are painted in place or sequenced separately should be written into the estimate. Over-spray and roller spray show quickly on cabinet crowns, stainless edges, and hallway flooring outside the doorway. If the kitchen shares air with a dining room or open living area, the estimate should say how odour and access will be managed while coatings dry.
Choose colour, sheen, and products for steam, cleaning, and cool daylight
Kitchens need finishes that look clean under cool Vancouver daylight and warmer under-cabinet lamps, wipe after cooking splashes, and keep odour manageable in a daily-use room. Product and sheen choices should reflect grease load, cleaning needs, lighting, and how soon cooking must return.
Common planning points:
- Soft mid-value neutrals often read cleaner with mixed daylight and task lighting than stark white or very dark walls
- Washable eggshell or satin wall systems usually suit splash-adjacent fields better than fragile flat paints
- Ceiling systems should show fewer roller marks around recessed lights and grease-prone bulkheads
- Door and trim finishes usually need a harder-wearing enamel-style system than field walls
- Low-odour or low-VOC paint options help when the household needs the kitchen back quickly
- Sheen should balance cleanability and wall-flaw visibility; review our paint sheen guide
Do not assume leftover dining room or living room paint is right for every kitchen surface. Grease film, steam, and daily wiping can change the system. Closet pantries and storage niches are covered in our closet painting guide when those spaces need their own phase.
Plan ventilation, recoat time, and return to cooking
Vancouver kitchens can stay cool and humid after coating when windows stay closed for weather or street noise, especially in older homes and ground-floor suites. Recoat and cure windows should be written for the actual temperature, humidity, and airflow on site.
Ask the contractor to document:
- How the space will be ventilated during and after coating
- Whether the kitchen must stay offline for cooking, and for how long
- Recoat timing for walls, ceilings, trim, and any door coatings
- When counters can be used and appliances returned against finished surfaces
- When doors can close regularly without softening the finish
- Any odour expectations for rooms that share air with dining or living areas
Light passage through the room can come sooner than frying, boiling, or parking chairs against a fresh finish. Plan more drying time rather than less if the kitchen is cool, sealed, or poorly ventilated. Related ceiling work is covered in our ceiling painting guide, and trim or door scope often follows the same sequencing as painting trim and doors.
What affects kitchen painting cost in Vancouver
Kitchen pricing usually turns on grease prep, cabinet masking, ceiling height, and colour changes more than square footage alone. Factors that commonly change an estimate include:
- Total wall, ceiling, trim, door, and accent-wall area
- High ceilings, bulkheads, or awkward above-cabinet layouts that change staging and labour
- Degreasing, drywall repair, or stain blocking required before coating
- Whether cabinets, counters, and appliances must be masked in place or staged carefully
- Occupied-home protection and alternate cooking planning
- Product system for washable durability, stain blocking, moisture resistance, or low odour
- Number of colour changes and open-concept return matching
- Ventilation and extended cure planning before cooking resumes
Use our interior painting cost guide for Vancouver for broader pricing context, then compare line items rather than headline totals. If cabinet doors and drawers are part of the project, price that work with the kitchen cabinet painting guide rather than folding it into a wall-only number.
Common kitchen painting mistakes
- Painting over grease film, cleaner residue, unresolved stains, or soft drywall
- Skipping thorough degreasing of ceilings, bulkheads, and above-cabinet walls
- Leaving cabinets, appliances, and counters poorly protected
- Treating cabinet refinishing as the same job as wall painting
- Using a flat, hard-to-clean wall paint in splash-adjacent and latch-height zones
- Underestimating cooler-room dry and cure times before cooking returns
- Ignoring pantry doors, bulkheads, and open-concept dining or living-room sightlines
- Matching quotes by price alone without matching surface lists and staging exclusions
Questions to ask when comparing estimates
Ask each contractor:
- Which walls, ceilings, accent walls, trim, doors, and pantry surfaces are included?
- Which dining-room, living-room, hallway, and stair returns are excluded?
- Are cabinet doors and drawers excluded, masked only, or quoted as a separate refinish?
- What grease film, stains, soft drywall, or moisture issues were identified?
- Which defects need drywall, roofing, plumbing, or other specialist work first?
- How will grease, dust, loose paint, and gloss be addressed before coating?
- Is stain-blocking primer, bonding primer, washable wall paint, or a low-odour system part of the plan?
- How will floors, cabinets, appliances, hardware, detectors, and lighting be protected?
- How will the household cook while the kitchen is offline?
- Which products, colours, sheens, and coat sequence are proposed?
- What ventilation, recoat, cure, and return-to-use instructions apply?
- How will cleanup, touch-ups, final inspection, and workmanship warranty be documented?
Use our house painting quote comparison guide to check insurance, payment terms, change orders, cleanup, exclusions, and warranty language alongside these kitchen-specific questions.
Kitchen painting FAQs
Can you paint a kitchen while living in the home?
Yes, if staging, alternate cooking space, and cure timing are clear. Many Vancouver projects paint the kitchen in one phase and keep another room or takeout plan usable while coatings dry. The estimate should state how long the room stays offline and when counters and appliances can return against finished walls.
Should kitchen walls be matte, eggshell, or satin?
All three can work when the product is intended for washable interiors. A quality washable eggshell or satin often wipes more easily after cooking splashes, while washable matte can look softer under cool daylight if the product data supports kitchen cleaning. Surface condition and the product data matter more than a universal sheen rule.
Is kitchen wall painting the same as cabinet painting?
No. Wall systems focus on grease cleaning, washable field finishes, and ceiling work. Cabinet doors and drawers usually need removal or careful staging, bonding primers, and harder enamel-style coatings with longer cure times. Keep them as separate line items unless one contractor is clearly quoting both scopes.
Do kitchen doors, trim, and pantry interiors need a different paint?
Often yes. Door slabs, edges, casings, and painted pantry shelves take more abrasion from hands and daily use than open wall fields. The estimate should state whether those surfaces use the same wall system or a harder-wearing enamel-style finish.
How long before we can cook in the kitchen again after painting?
Follow the current product data and the contractor's written instructions. Light daytime passage can come sooner than boiling, frying, or wiping fresh walls. In a cool, poorly ventilated kitchen, plan more cure time rather than less, and avoid heavy steam until coatings have set as specified.
Get a kitchen painting estimate in Vancouver
Photograph the full kitchen with blinds open, close views of grease film and latch-height marks, above-cabinet and bulkhead zones, backsplash edges, dining or living-room sightlines, and any stained or soft drywall. Note whether cabinets stay masked, whether an alternate cooking plan is available, and whether dining-room or living-room work is planned in the same phase.
Start a free, no-obligation interior painting estimate or call +1 (604) 260-1613 for 24/7 estimate requests. We help homeowners in Vancouver and across the Lower Mainland connect with a painting partner for a clearly defined kitchen painting scope.