Bathroom Painting in Vancouver
Posted on July 24, 2026 by The Vancouver Painters Team
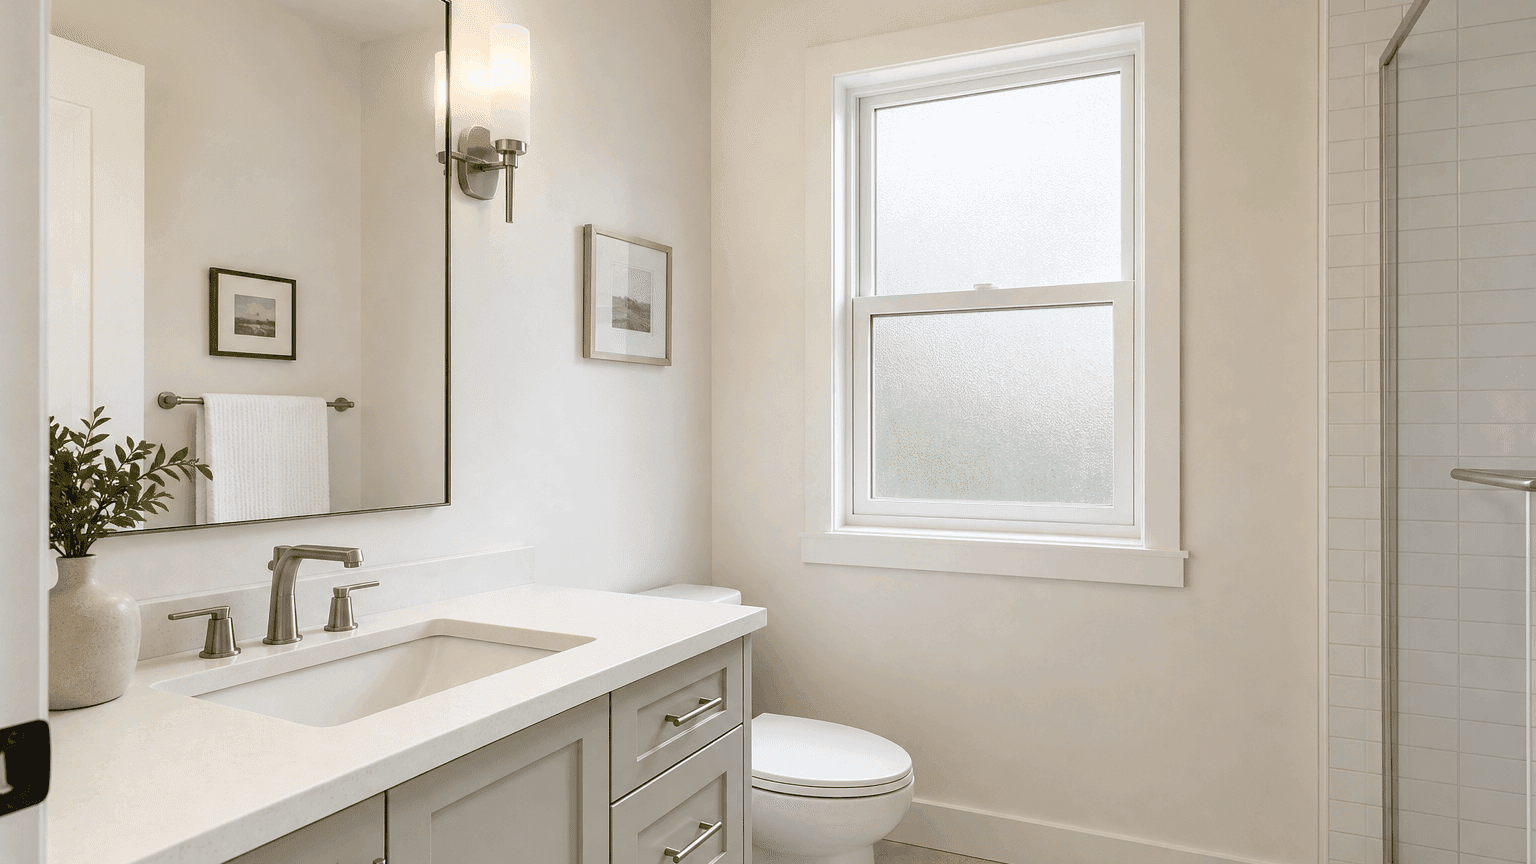
Quick answer: A bathroom can usually be repainted when the walls, ceiling, trim, and existing finish are sound and dry. Fix active leaks, soft drywall, recurring mildew, and poor ventilation before coating. Choose a washable, moisture-appropriate system, protect fixtures carefully, and allow enough ventilation and cure time before the room returns to normal use.
Bathrooms combine humidity, frequent cleaning, tight access, and finishes that show every cut-in line. A useful estimate should identify every included surface, the moisture condition, preparation, products, fixture protection, ventilation plan, and cure schedule rather than simply say “paint the bathroom.”
Name each bathroom surface before pricing
Homeowners often assume “bathroom painting” means the walls only. A component list makes quotes easier to compare:
- Walls: Field walls, outside corners, and any wallpapered or previously patched areas
- Ceiling: Flat, textured, or previously stained surfaces above the vanity, toilet, and shower zone
- Trim: Baseboards, door casings, window casings, and any chair rail or niche trim
- Doors: The bathroom door slab, edges, and frame; closet or linen doors if present
- Vanity zone: Painted vanity cabinets, toe kicks, or adjacent built-ins, if included
- Accent or feature areas: Niches, half-walls, or a feature wall outside the wet zone
- Closet or linen space: Shelves, walls, and doors that open into the bathroom
Specify whether the scope includes the ceiling, inside the shower surround, window sashes, cabinet interiors, and the back of the bathroom door. A full interior painting project may include some of these surfaces, but bathroom details should still be listed separately.
Inspect for moisture before surface preparation
Paint should not conceal an unresolved moisture problem. Check the room in good light, with the exhaust fan running, before cleaning or sanding removes clues.
Look for:
- Soft, swollen, or crumbling drywall near the tub, shower, toilet, or vanity
- Peeling, bubbling, or blistered paint on walls or ceilings
- Recurring mildew in corners, at the ceiling line, or around the shower enclosure
- Brown or yellow stains that may point to plumbing, roof, or condensation issues
- Failed caulking at tubs, vanities, backsplashes, and trim joints
- Condensation that lingers on windows, mirrors, or cold exterior walls
- An exhaust fan that is missing, weak, noisy, clogged, or vents poorly
- Odours that return after cleaning
- Wallpaper edges lifting from humidity
- An older or unknown coating that may need hazardous-material assessment before disturbance
A painter can document visible coating and surface conditions but should not certify plumbing, waterproofing, fan ducting, or building moisture control. Soft drywall, active leaks, failed waterproofing, and persistent mildew need assessment and repair by the appropriate qualified trades before coating.
Decide what belongs in the painting scope
Bathroom work often sits next to renovation tasks. Clarify boundaries early:
- Refresh sound painted surfaces: Clean, dull, prime where needed, and recoat walls, ceiling, and trim.
- Repair and then paint: Patch nail pops, hairline cracks, and limited drywall damage after the moisture source is resolved.
- Coordinate with a renovation: Sequence painting after plumbing, tiling, vanity installation, or glass enclosure work is complete enough to protect.
- Convert wallpapered walls: Remove or stabilize wallpaper, repair the substrate, prime, and finish.
- Include doors and millwork: Plan casings, baseboards, and the door as part of one visual scheme.
If walls need more than minor patching, review our guide to drywall repair before painting in Vancouver. Soft or repeatedly wet board is a repair or replacement issue, not a thicker paint problem.
Preparation determines whether the finish will last
Bathrooms collect soap film, hair products, cleaning residue, condensation marks, and dust on trim ledges. Painting over that contamination can cause poor adhesion or a rough finish.
A condition-specific preparation sequence may include:
- Protect floors, fixtures, glass, hardware, outlets, vents, and adjacent rooms
- Ventilate the room and confirm surfaces are dry enough for the specified system
- Clean walls, ceilings, and trim with a method suited to soap film and residue
- Treat and remove mildew contamination where appropriate; do not paint over active growth
- Scrape or sand loose coating and feather sound edges
- Dull glossy retained finishes without damaging adjacent tile, glass, or hardware
- Fill appropriate nail holes, dents, and open finish joints
- Spot-prime stains, repairs, and adhesion-risk areas
- Caulk appropriate trim and finish joints after the substrate is ready
- Final dust removal before primer or finish coats
Do not assume a bathroom can be painted the same day a leak is discovered or immediately after a steamy shower routine. Surfaces need to be dry according to the product requirements and site conditions.
Protect fixtures, glass, and hardware carefully
Bathroom painting is as much about what not to get paint on as it is about the walls. Fixture protection should be planned before production starts.
Common protection items include:
- Vanity tops, sinks, and faucets
- Toilets, tanks, and adjacent supply lines
- Mirrors, medicine cabinets, and lighting
- Shower glass, tracks, and metal frames
- Tile, tub surrounds, and existing caulk lines
- Floors, floor vents, and transition strips
- Door hardware, towel bars, toilet-paper holders, and hooks
- Exhaust fan covers and electrical plates
Whether hardware is masked in place or carefully removed and reinstalled should be written into the estimate. Over-spray, roller spray, and cut-in mistakes show quickly on chrome, glass, and polished stone.
Choose sheen and products for humidity and cleaning
Bathrooms need finishes that tolerate humidity and repeated wiping better than many living-room systems. That does not mean every surface should be high gloss.
Typical planning points:
- Walls: A washable matte, eggshell, satin, or other moisture-appropriate interior finish selected for the room and substrate
- Ceilings: A product suited to humidity and stain resistance; bathroom ceilings often need more attention than bedroom ceilings
- Trim and doors: A durable enamel or acrylic trim finish in satin, pearl, or semi-gloss
For product selection across wet rooms, see our guide to moisture-resistant interior paint in Vancouver. For ceiling staining, texture, and glare, see ceiling painting in Vancouver. For doors, casings, and baseboards, see painting trim and doors in Vancouver.
Sheen choice still depends on wall condition. Higher sheen can highlight patches, roller texture, and uneven drywall. The contractor should match the system to cleaning expectations, lighting, and surface quality.
Plan ventilation, recoat time, and return to service
Vancouver bathrooms vary widely: windowed ensuites, interior powder rooms, basement baths with weaker airflow, and condo suites with shared exhaust. Application and cure planning should match the room.
Ask for written guidance on:
- Whether windows can open and whether the exhaust fan will be used during and after work
- Recoat windows for primer and finish coats
- When the room can be used for brief access
- When showers, baths, and heavy steam use can resume
- When towels, toiletries, hardware, and accessories can return
- Whether overnight drying or a second visit is expected
Recoat time, dry-to-touch time, light use, and full cure are different milestones. Returning steam to the room too early can mark a fresh finish even when the paint felt dry to the touch.
What affects bathroom painting cost in Vancouver
Bathroom pricing is driven by access, condition, and detail more than by square footage alone.
Common cost factors include:
- Room size, ceiling height, and layout complexity
- Whether the ceiling, trim, doors, vanity, and closet are included
- Moisture damage, mildew remediation needs, and drywall repairs
- Wallpaper removal or multiple existing coating layers
- Colour change, especially dark-to-light transitions
- Number of cut-ins at tile, glass, cabinets, and fixtures
- Fixture protection, hardware handling, and occupied-home constraints
- Ventilation limits that slow drying or require return visits
- Hazardous-coating assessment if older layers must be disturbed
For whole-home budgeting context, see our Vancouver interior painting cost guide. The bathroom portion still needs its own written scope because fixture protection and moisture prep are not captured by a simple wall-area allowance.
Common bathroom painting mistakes
- Painting over mildew, damp drywall, or unresolved leaks
- Using the same flat living-room paint on every bathroom surface
- Skipping cleaning of soap film and personal-care residue
- Leaving failed caulk and open trim joints as-is
- Under-protecting glass, chrome, stone, and tile
- Cutting in poorly where paint meets tub surrounds and mirrors
- Closing the room too soon and trapping humidity during cure
- Ignoring a weak or missing exhaust fan
- Assuming wallpaper can stay under paint without assessment
- Comparing quotes by price alone without matching surface lists
Questions to ask when comparing estimates
Ask each contractor:
- Which walls, ceilings, trim, doors, vanity surfaces, and closets are included?
- Which shower surrounds, window parts, cabinet interiors, and inaccessible areas are excluded?
- What moisture, mildew, soft drywall, or ventilation issues were identified?
- Which defects need plumbing, tiling, drywall, ventilation, or other specialist work first?
- How will soap film, residue, mildew contamination, loose paint, and gloss be addressed?
- Is stain-blocking primer, bonding primer, or moisture-appropriate wall paint part of the system?
- How will fixtures, glass, hardware, floors, and adjacent rooms be protected?
- Which products, colours, sheens, and coat sequence are proposed?
- What ventilation, recoat, cure, and return-to-shower instructions apply?
- How will cleanup, touch-ups, final inspection, and workmanship warranty be documented?
Use our house painting quote comparison guide to check insurance, payment terms, change orders, cleanup, exclusions, and warranty language alongside these bathroom-specific questions.
Bathroom painting FAQs
Can you paint a bathroom if there is mildew?
Not until the growth is properly addressed and the moisture source is understood. Painting over mildew often leads to return staining and coating failure. Cleaning alone is not enough if the fan, leak, or condensation problem remains.
Should bathroom walls be satin or eggshell?
Both can work when the product is intended for humid, washable interiors. Satin may wipe more easily in some systems, while a quality washable eggshell or matte can look softer and hide more wall imperfections. Surface condition and the product data matter more than a universal sheen rule.
Do bathroom ceilings need a different paint than the walls?
Often yes. Bathroom ceilings face steam, possible staining, and lighting that shows roller marks. The contractor should choose a ceiling system suited to humidity and the existing surface rather than automatically using leftover wall paint.
How long before I can shower after painting?
Follow the current product data and the contractor's written instructions. Light access can come sooner than full steam exposure. In a Vancouver bathroom with limited ventilation, plan more drying time rather than less.
Can painters work around a renovation?
Yes, if sequencing is clear. Painting too early can leave new work unprotected; painting too late can trap dust from grinding or leave incomplete cut-in edges at unfinished tile. The estimate should state what must be installed, protected, or complete before coating starts.
Get a bathroom painting estimate in Vancouver
Photograph the full bathroom, the ceiling above the shower and vanity, close views of peeling or stained areas, and any soft walls or failed caulk. Note whether the exhaust fan works well, whether the home will be occupied, and whether plumbing or tile work is planned first.
Start a free, no-obligation interior painting estimate or call +1 (604) 260-1613 for 24/7 estimate requests. We help homeowners in Vancouver and across the Lower Mainland connect with a painting partner for a clearly defined bathroom painting scope.