
Exterior Caulking Before Painting in Vancouver: What Homeowners Should Check
Posted on June 15, 2026 by The Vancouver Painters Team
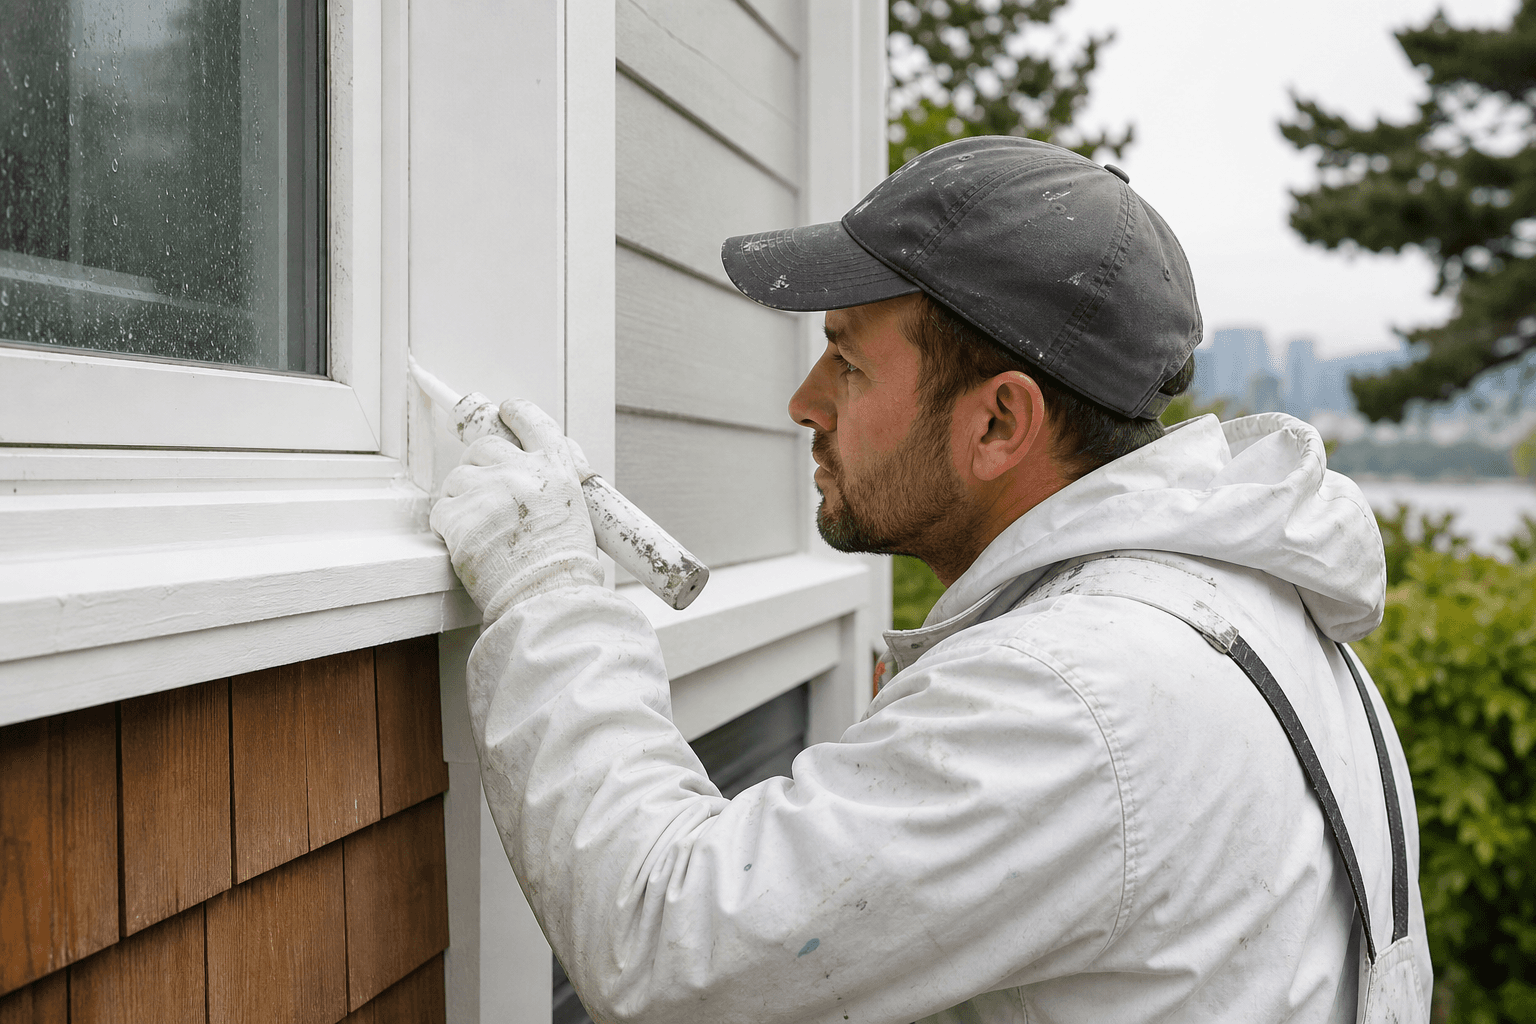
Quick answer: Exterior caulking should be inspected before any Vancouver repaint. Check window trim, door frames, siding joints, fascia, penetrations, and horizontal ledges for cracked, missing, hardened, or mildew-stained sealant. Failed caulking should usually be removed and replaced before primer and paint so rain is not trapped behind the new finish.
In Vancouver and the Lower Mainland, exterior paint is asked to do more than look good. It has to protect wood, trim, siding, and joints through long wet seasons, shaded walls, coastal air, and repeated freeze-thaw cycles in some neighbourhoods.
Caulking is one of the small prep details that can decide whether an exterior repaint lasts. If the joints are sealed properly, paint has a cleaner edge and the building envelope is better protected. If old sealant is cracked or loose, fresh paint can bridge over a weak joint and fail sooner than expected.
Why caulking matters before exterior paint
Paint protects exposed surfaces, but caulking protects many of the seams where water tries to enter. These seams move as materials expand, contract, dry, and absorb moisture. A flexible exterior sealant helps close the gap while still allowing normal movement.
Good caulking can help:
- Reduce water entry around trim and siding joints
- Keep wind-driven rain out of small gaps
- Improve the finished look of painted edges
- Limit drafts around exterior openings
- Prevent paint from cracking at vulnerable seams
Caulking is not a fix for structural movement, rotten wood, or poor flashing. If a gap keeps reopening or water is getting behind the siding, the cause should be identified before paint is applied.
Where Vancouver homes commonly need caulking
Every exterior is different, but most homes have a few high-risk areas. During a repaint estimate, walk the exterior slowly and look for failed sealant around:
- Window and door trim
- Corner boards and vertical trim joints
- Fascia, bargeboards, and soffit transitions
- Siding butt joints or panel seams
- Utility penetrations, vents, and hose bibs
- Horizontal ledges where water can sit
- Deck-to-wall transitions and rail connections
North-facing and shaded walls often show mildew or slower drying. South and west-facing elevations may show more UV damage, cracking, and shrinkage. Homes near trees, steep slopes, or marine air can have additional moisture exposure.
If you are planning a full exterior repaint, compare this checklist with our guide to how often Vancouver homes need repainting so you can separate normal aging from early coating failure.
Signs old caulking should be replaced
Not every old bead needs to be removed, but failed sealant should not be painted over. Look for:
- Cracks running through the bead
- Gaps between caulking and trim
- Hardened sealant that no longer flexes
- Peeling paint along the caulk line
- Mildew staining that returns after cleaning
- Bulging, lumpy, or poorly adhered old caulk
- Open joints where caulking has disappeared
If you can lift the edge of the old bead with a scraper, it is no longer doing its job. Painting over it may hide the problem for a short time, but the weak bond remains underneath.
For broader surface warning signs, read our guide to signs your home needs new paint.
Should old caulking be removed or patched?
The right approach depends on adhesion, depth, and movement. A small hairline crack in an otherwise sound bead may sometimes be cleaned and topped with a compatible exterior sealant. Loose, brittle, split, or mildew-contaminated caulking should usually be removed first.
Removal matters because new caulking needs a clean, sound surface. If it is applied over dirt, chalky paint, wet wood, or loose old sealant, it can pull away after the next stretch of wet weather.
A painter may recommend:
- Cutting out failed caulking
- Scraping loose paint near the joint
- Cleaning mildew or surface contamination
- Letting damp areas dry
- Priming exposed wood if needed
- Applying paintable exterior sealant
- Allowing proper cure time before painting
This prep can take longer than homeowners expect, especially around older wood windows, detailed trim, or character homes.
Do not seal gaps that should drain
More caulking is not always better. Some exterior gaps are designed to let moisture escape. Sealing the wrong joint can trap water behind siding or trim.
Be careful around:
- Weep holes in windows or masonry
- Drainage gaps at the bottom of siding
- Openings designed for ventilation
- Flashing details that need a drainage path
- Areas where water is already collecting
If there is uncertainty, ask the estimator which joints will be sealed and which will be left open. A careful answer is a good sign that the crew understands exterior moisture control, not just paint application.
Timing caulking around Vancouver weather
Caulking needs the right conditions to bond and cure. Damp surfaces, cold temperatures, and rain too soon after application can interfere with adhesion. Vancouver's shoulder seasons can still work for exterior prep, but weather windows matter.
Before booking exterior painting, ask:
- How dry does the surface need to be before caulking?
- What temperature range does the product require?
- How long should caulking cure before primer or paint?
- What happens if rain arrives earlier than forecast?
- Can the crew adjust the schedule by elevation or exposure?
Our guide to the best time to paint your home's exterior in Vancouver explains why dry weather, overnight temperatures, and surface moisture matter for the full paint system.
Product choice matters
Exterior caulking should be paintable, flexible, and suitable for the materials being sealed. Different products may be used for wood trim, fibre-cement siding, metal flashing, masonry-adjacent joints, or high-movement areas.
Ask your painter what product they plan to use and why. The cheapest tube is rarely the best choice for a Vancouver exterior, especially around windows, trim, and joints exposed to repeated rain.
Also confirm whether the caulking will be included in the written scope. When comparing bids, one estimate may include detailed joint prep while another only includes spot caulking. That difference can affect both price and durability.
For estimate review tips, see how to compare house painting quotes in Vancouver.
When caulking is not enough
Caulking can close narrow joints, but it cannot rescue rotten trim, failed flashing, swollen siding, or recurring leaks. If the wood is soft, stained, or crumbling, repairs should happen before paint.
Watch for:
- Soft or punky trim near window corners
- Paint bubbling from behind, not just surface peeling
- Brown stains below joints or fasteners
- Siding edges that have swollen or delaminated
- Interior staining near the same exterior wall
These symptoms may point to moisture behind the surface. A good painting estimate should identify them instead of simply sealing and painting over the damage.
Questions to ask before hiring an exterior painter
Before you approve an exterior repaint, ask:
- Which joints will be caulked?
- Which gaps should intentionally stay open?
- Will failed old caulking be removed?
- Are exposed wood and bare spots primed before caulking or paint?
- What product will be used around windows and trim?
- How will weather delays be handled?
- Is caulking included in the written quote?
Clear answers make it easier to compare painters and reduce surprises once prep begins.
Get exterior caulking and painting advice
If your home in Vancouver, Burnaby, Richmond, North Vancouver, Surrey, or the Lower Mainland has cracked caulking, peeling trim, or weathered siding, request a free exterior painting quote. Share photos of the affected joints so we can help you understand whether the project needs spot sealing, detailed prep, or a larger exterior repaint.