Pre-Listing Painting Checklist for Vancouver Home Sellers
Posted on June 14, 2026 by The Vancouver Painters Team
Quick answer: Before listing a Vancouver home, repaint the areas buyers notice first: entryways, main living spaces, kitchens, bathrooms, trim, doors, and any exterior surfaces with peeling or mildew. Choose warm neutral colours, finish repairs before photography, and keep the scope focused on work that improves first impressions without delaying the sale.
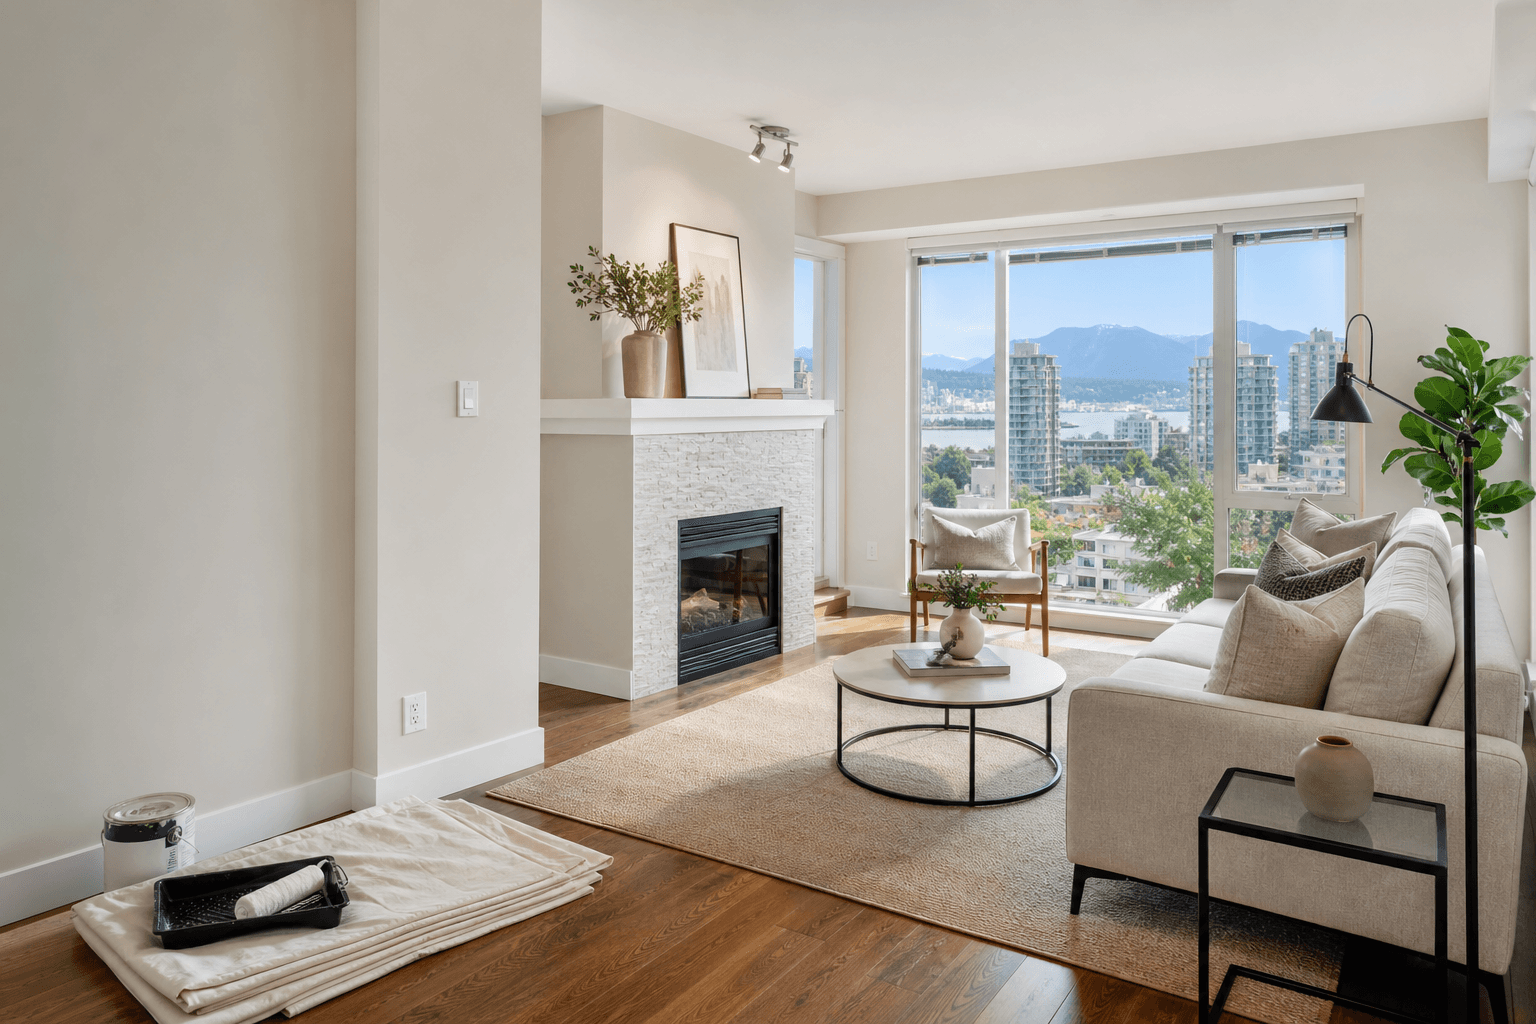
Paint is one of the most visible pre-listing updates because buyers can feel the difference immediately. Fresh walls make rooms look cleaner, brighter, and better maintained in listing photos. Tired paint, chipped trim, water stains, or strong colours can make a home feel older even when the structure is sound.
In Greater Vancouver, where buyers often compare many condos, townhouses, and detached homes in a short window, a focused painting plan can help your property show well without turning into a full renovation.
Start with the rooms buyers see first
Walk through the home the way a buyer will arrive for a showing. Prioritize the spaces that shape the first impression:
- Front entry and hallways
- Living room and dining area
- Kitchen walls, ceilings, and trim
- Primary bedroom
- Main bathroom and powder room
- Stairwells and high-traffic corridors
These areas appear in listing photos and tend to show scuffs, dents, and old patch marks. If the budget is tight, repainting the entry, living area, and main hallway often gives the best return because buyers see them before they decide how the rest of the home feels.
If you are also preparing occupied rooms for repainting, use our interior painting prep checklist to organize furniture, wall decor, pets, and daily access.
Choose resale-friendly colours
Pre-listing paint should make the home feel clean and easy to imagine, not highly personal. Soft whites, warm greiges, light taupes, and muted off-whites usually photograph better than dark, saturated, or very cool grey colours.
Good resale colours should:
- Work with the flooring and fixed finishes
- Reflect natural light on cloudy Vancouver days
- Make small rooms feel larger
- Avoid clashing with cabinets, tile, or countertops
- Look consistent from room to room
If you want help narrowing samples, our guide to choosing paint colours for Vancouver homes explains how local light, undertones, and exterior surroundings affect colour choices.
Do not ignore trim, doors, and baseboards
Walls get most of the attention, but buyers often notice chipped trim during showings. Baseboards, casings, closet doors, and bathroom doors can collect dents, shoe marks, and yellowing faster than walls.
Consider repainting trim when:
- White trim has yellowed beside fresh wall colour
- Baseboards are scratched from furniture or pets
- Door edges have chipped paint near handles
- Window casings have water marks or failed caulking
- Old caulk lines make corners look messy
Trim and doors take more labour than flat walls because they need cleaning, sanding, caulking, and careful finish work. If you are comparing estimates, make sure trim is either included clearly or excluded clearly so you can compare quotes fairly.
Patch before you paint
Paint will not hide poor surface preparation. Buyers may not know the technical cause, but they can see nail holes, bad drywall patches, bubbling tape, failed caulking, and water stains.
Before repainting, identify:
- Picture hook holes and TV mount repairs
- Settlement cracks around windows and doors
- Dents in high-traffic hallways
- Water stains that need stain-blocking primer
- Peeling paint in bathrooms, laundry rooms, or basements
Moisture issues should be solved before the home is listed. A stain that returns after painting can raise bigger buyer concerns than leaving the room unpainted.
Plan around photos, staging, and showings
Painting should be scheduled before photography and staging whenever possible. Fresh paint looks best once furniture is back in place, touch-ups are complete, and rooms have had time to air out.
A practical sequence is:
- Confirm the listing schedule with your realtor
- Choose colours and scope
- Complete drywall repairs and caulking
- Paint walls, trim, doors, or ceilings
- Let rooms dry and cure
- Complete touch-ups and cleaning
- Stage, photograph, and launch the listing
For most interior projects, leave at least a small buffer between painting and photography. This gives the crew time to complete touch-ups and lets you put furniture, art, and decor back without rushing.
Condo and strata considerations
If you are selling a condo or townhouse, check building rules before booking. Many Vancouver strata buildings have requirements for work hours, elevator reservations, loading areas, insurance documents, and low-VOC products.
This matters most if you need a crew to bring ladders, supplies, or drywall repair materials through common areas. Our Vancouver strata painting requirements guide covers the approval items that can affect scheduling.
For budget planning in apartments, see our Vancouver condo painting cost guide.
Exterior curb appeal still matters
Detached homes, duplexes, and townhouses may need exterior attention before listing. You may not need a full exterior repaint, but obvious peeling paint, faded front doors, stained fascia, or mildew near the entry can hurt curb appeal.
Focus on visible, high-impact areas:
- Front door and entry trim
- Porch railings or posts
- Garage doors
- Fascia or window trim facing the street
- Peeling siding or exposed wood
- Mildew near shaded walkways
Exterior painting in Vancouver depends heavily on weather and drying time. If you are listing during a wet season, ask whether touch-ups, washing, or targeted repairs are realistic before committing to a larger scope. Our guide to the best time to paint your home's exterior in Vancouver explains the safest seasonal windows.
What not to repaint before selling
Pre-listing painting should be strategic. Avoid spending money on areas that are unlikely to change buyer perception.
You may not need to repaint:
- Closets that are already clean and neutral
- Utility rooms that will not be photographed
- Recently painted bedrooms in buyer-friendly colours
- Exterior elevations that are not visible and still sound
- Cabinets unless the finish is truly hurting the kitchen
If the home needs broader improvements, ask your realtor which updates are most likely to affect price or days on market. The goal is to remove visual objections, not personalize the home for the next owner.
Questions to ask before booking
When requesting a pre-listing painting estimate, ask:
- Which rooms will affect listing photos most?
- Are drywall repairs, caulking, and primer included?
- Should trim and doors be painted or only cleaned?
- How soon can rooms be photographed after painting?
- Which low-odour or low-VOC products are recommended?
- Can the crew work around staging or packed boxes?
These details make the estimate easier to compare. For a broader checklist, read our guide on how to compare house painting quotes in Vancouver.
Get a pre-listing painting recommendation
If you are preparing a home for sale in Vancouver, Burnaby, Richmond, North Vancouver, Surrey, or elsewhere in the Lower Mainland, request a free painting quote. Share your listing timeline, room photos, and any realtor notes so we can help match the scope to the sale.